How to Clean Grout – Simple Methods for Sparkling Clean Results
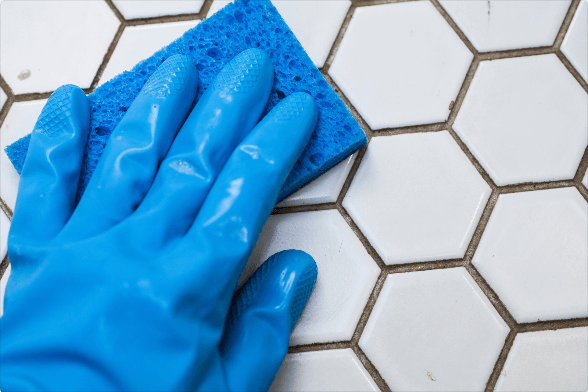
We have all faced the necessity of cleaning grout at some point in our lives, whether in the bathroom, kitchen or any other room. It is useful to know helpful tips on how to clean it, since dirty grout is unaesthetic, unhygienic, and may cause harm to your health. Yes, those little black spots on the grout are mildew, and its spores can be quickly released into the rest of your home. So, when you are cleaning grout, you are not only taking care of your house, but also your health. Alternatively, for a more comprehensive approach to maintaining a hygienic home, consider a domestic cleaning service to address all areas effectively.
Why Grout Gets Dirty
Grout between tiles becomes dirty because it is porous and absorbs spills and dirt stains. This problem is made worse on tile surfaces in kitchens and bathrooms where there is a lot of foot traffic and wetness like soap scum, which forces more dirt into the grout lines.
Deeply stained grout may require cleaning with a solution of grout cleaner, baking soda, and warm water over time. Both new and old floor tile grout can be kept clean with an old toothbrush and a spray bottle filled with cleaning solution. Frequent upkeep is essential to preventing the accumulation of dirt.
Grout Cleaning Tips
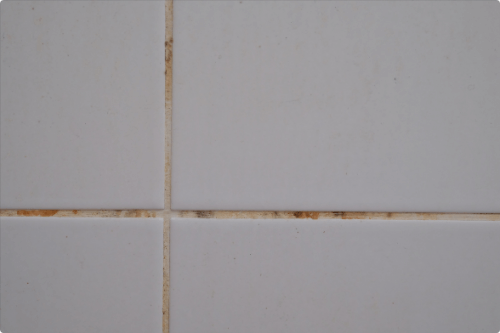
Clean the grout before moving on to cleaning the tiles. The dirt from the grout will probably get onto the tiles, so it is more convenient to first scrub the grout, and then clean the tiles.
- Start with the mildest cleaning agent. Keep in mind that intense agents can corrode and slowly destroy grout. Consider beginning with just a brush and hot water. If grout is deeply stained, you can move to a more intense detergent.
- Give the cleaning agent enough time. You are likely get better results if you leave the detergent for some time to dissolve the dirt before you move on to scrubbing. Depending on the chosen solution, you should let it sit on the surface for 5 to 10 minutes.
- Use a small, firm brush to scrub the surface. Since grout is a porous material, the liquid can pass through the pores. Grime and dirt can easily get into them. By using an appropriate brush, you have more chances to wipe up this dirt.
- Scrub, then mop. After you have scrubbed the grout, wipe the entire surface. Use warm water with a small amount of dish detergent. Then rinse off the remaining detergent and wipe the whole surface into a shiny condition.
Materials Needed
- Baking soda
- Hydrogen peroxide
- Dish soap
- A scrub brush or old toothbrush
- A spray bottle
- Water
- Microfiber cloths
You can efficiently clean and preserve your grout with these things. You can get the right directions by consulting eMop for comprehensive instructions and further advice on how to clean grout.
Grout Cleaners
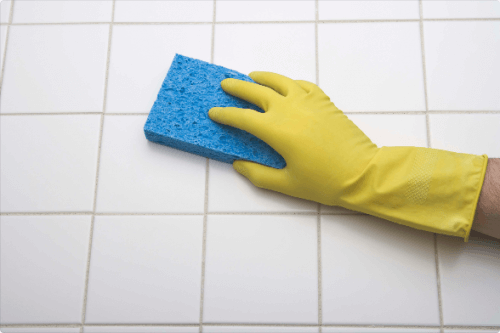
Here are some of the most effective detergents you can use to make your tile grout clean.
Alkaline Cleaner
The alkaline cleaners are highly recommended by users as they effectively clean grout. They are especially useful for cleaning kitchen tiles.
Try these following steps to clean your grout with alkaline detergent:
- Mix the cleaner with water, following the manufacturer’s directions. Do not add a large amount of the cleaner, since it will not enhance its cleaning power
- Apply the detergent lavishly to the grout lines with a sponge. Leave the detergent for a couple of minutes
- Scrub the grout lines with a brush until the stains are gone
- Clean the remaining detergent with a sponge, and then apply water.
- Dry the surface with a towel.
Oxygen Bleach
Oxygen bleach, unlike chlorine one, is non-toxic and environmentally friendly. Additionally, it does not have a jarring chemical smell. Furthermore, it does not stain coloured grout lines.
Use the following steps:
- Add water to the powdered cleaner until it has a consistency of toothpaste. You should measure approximately 1 part water for 2 parts of bleach
- Apply the detergent with a sponge to the grout lines. Leave it to sit for 5 to 10 minutes. Make sure to wear rubber gloves
- Scrub the grout lines with a brush until the grout brightens to its initial colour
- Rinse off the bleach with a sponge and warm water
- Wipe the surface with a clean cloth
Chlorine Bleach
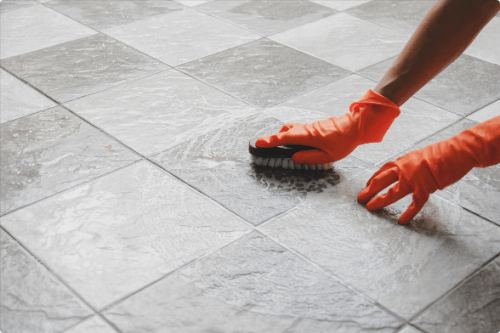
Cleaning grout lines with chlorine bleach is one of the traditional ways of making the surface clean. Here are some guidelines for using chlorine bleach for grout cleaning:
- Before you start, open up the windows to ventilate the room. Chlorine bleach is toxic and it releases harmful fumes. If you are cleaning the bathroom, consider opening windows and running the vent fan simultaneously
- Wear safety glasses and rubber gloves to protect yourself. Wear old clothes since bleach can bleed the colour out of clothing
- Apply the bleach to the grout lines with a brush and scrub until the stains are removed
- Rinse the surface thoroughly with a sponge and water to remove the bleach. Repeat several times to ensure all the bleach is removed
- Dry the surface with a clean towel
Hydrogen Peroxide
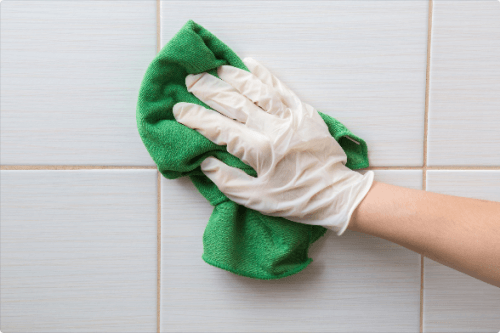
Hydrogen peroxide is a natural alternative to bleach. It brightens grouts and helps to eliminate microbes. What’s more, it is safe and does not harm your health.
- Dip the sponge into hydrogen peroxide and apply it to the grout lines. Leave it to rest for 5 to 10 minutes
- Scrub the grout with a brush until it brightens to its original colour
- Rinse the grout and the tile with a sponge and warm water
- Dry the tile and grout with a clean towel
Grout Steam Cleaner
One of the easiest and environmentally friendly solutions is to clean grout with a steam cleaner. They are very effective not only for grout but for most surfaces throughout the house.
- Set up the steam cleaner. Fill it with water, turn on the unit, and set it to steam. Attach the hose to the steam cleaner. Pick an appropriate brush, following the instructions of the manufacturer.
- Start steaming and scrubbing. Turn on the cleaner with the recommended rate of spray. Work on a small area until stains are gone, then move on to the next section.
- Rinse the cleaned section. Refill and reheat the steamer and repeat the process until everything is clean
- Dry the surface with a clean towel. Then leave it to air-dry overnight.
Electric Grout Cleaner
You can use an electric grout cleaner with any type of detergent. It can clean up to 2X faster than manual scrubbing. They typically come with a cone shape that helps it to reach tight spaces. You can also use an old electric toothbrush for these purposes.
Avoid Vinegar and Baking Soda

It is much more preferable to use alkaline cleaners or, at least, bleaches, than baking soda or vinegar to clean grout. This is because grout contains cementitious mortar, which can be dissolved by acidic solutions such as vinegar. For this reason, it is better to avoid using acid-based commercial cleaners on grout. Besides, by using vinegar and other acids, there is a risk of etching the stone.
As for soda, it is alkaline, not acid. However, it is not very effective as a grout cleaner. Additionally, if you mix it with vinegar, you risk damaging the tile and grout, too.
How to Clean Shower Tiles Without Scrubbing

Often, cleaning grout in the shower is too challenging because you have to avoid scrubbing. But there is a solution for such cases:
- Run a hot shower for a couple of minutes before you begin cleaning. Make sure you close the door and windows
- Use any of the methods above, but swap the brush for a small, soft tool like cotton wool to get the detergent into the grout
- Rinse and dry the surface
How to Prevent Tiles from Staining
It is always better to prevent the stain than to clean it. Here are some tips on how to eliminate the necessity of cleaning grout.
- Keep it clean: Each time you use the shower or the tub, rub the walls with a rag or a dry sponge, so the soap, water, and dirt do not remain in the grout
- Do not place heated objects near the tiles. A tile countertop can be easily stained if you put something hot on top of it without any isolation. The heat burns the grout and leaves a dark brown stain, which cannot then be removed
- Dye the grout. This is not actually a way to prevent stains, but it can work well when you need to hide the presence of stains. You should keep in mind that there is a risk of ruining the tile itself, so make sure to choose only the appropriate solutions.
When to Regrout or Repaint
When cleaning fails to restore the appearance of tile grout, regrouting or repair becomes necessary. Grout can get so deeply stained over time that it becomes impossible to clean with milder cleaning agents like white vinegar and water or baking soda and hydrogen peroxide.
If the results are still not up to par after utilising these solutions and equipment like an old electric toothbrush or a spray bottle to try to clean stained grout, it could be time to redo the grout.
It is also imperative that you repair any cracked or disintegrating grout with a grout sealer to stop moisture from penetrating beneath the tiles and causing more harm to your floor tiles.
If your grout remains discoloured even after cleaning it, it may be necessary to redo the grout. Depending on the type of tile you have, you will have to choose between sanded or unsanded floor tile grout.
Prevent Mold and Mildew
Clean regularly
If you regularly clean grout, whether it’s kitchen or bathroom grout, but it’s still dirty, you may be overlooking the moistest areas. Use anti-mould grout cleaners or concentrate on these areas and cracks using a natural cleaning solution like vinegar or tea tree oil for the best results.
Use a dehumidifier
The cause of mould and mildew on grout is too much moisture in bathrooms and kitchens. Although controlling this moisture can appear difficult, it is possible with the appropriate techniques. To drastically reduce moisture & prevent staining, you can use a top-rated dehumidifier, leave windows open, or operate an extractor fan for extended periods every day.
Dry tiles after showering
Use a squeegee to wipe down your shower walls after a shower. During your weekend deep cleans, spend a few more seconds to make the tiles clean. Dry the tiles and this will reduce the chance of mould and mildew growing by removing the excess water.
FAQs
CHow do I get my grout white again?
Combine one part hydrogen peroxide and two parts baking soda in a spray bottle, then use the mixture to restore the white colour of your grout.
When you’re done rinsing it, now scrub it with a hard brush. Use a grout cleaning or distilled white vinegar solution for tougher stains. These techniques guarantee that grout lines and tiles remain white and spotless with regular care.
What is the best thing to clean grout with?
A mixture of baking soda and hydrogen peroxide is the best solution for grout cleaning. Use an old toothbrush to create a thick paste, then scrape the tile grout lines well. To remove more stubborn stains, apply a grout cleaner or equal parts vinegar and warm water solution.
What is the trick to cleaning grout?
The secret to cleaning grout is to scrub with a stiff brush, make a paste of two parts baking soda and one part hydrogen peroxide, and then rinse well. Grout is kept clean and buildup is avoided with routine care.
How do you clean old dirty grout?
Fill a spray bottle with vinegar and baking soda, apply it to the tile and grout, start scrubbing it with a small brush, and thoroughly rinse the entire surface with warm water. This will repair discoloured grout.
With these simple tips from eMop on how to clean grout, you should find a solution that works for you to brighten your tiles.
You may also find our how to remove limescale from toilet bowl useful.
We also suggest reading our helpful guide on how to clean your house like a professional.



 Blog
Blog

 Previous Post